


- Description
This lesson builds students’ visual vocabulary to help them discuss and analyze portraiture.
- Grade
- 8-12
Big Ideas
- Portraiture is a tool to examine communities.
- Portraits are mirrors and windows:
- Artwork can become a springboard to a contemporary political and social topic.
- Artwork can provide a bridge to students’ personal lives.
Learning Outcomes
By the end of the lesson, students will be able to:
- Define, identify, and apply the different elements of portrayal to a portrait.
- Use new vocabulary to analyze an artwork.
- Reflect on how they can visually represent ideas and individuals in their own communities.
Teacher Preparation
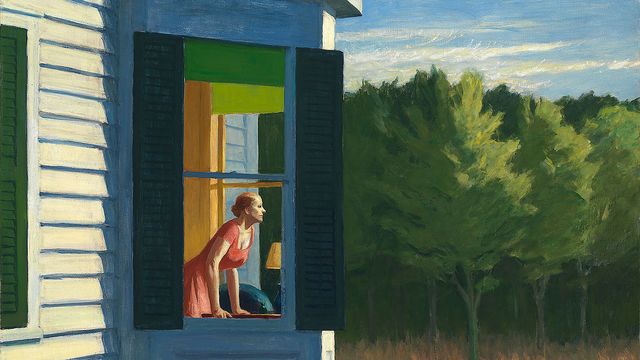
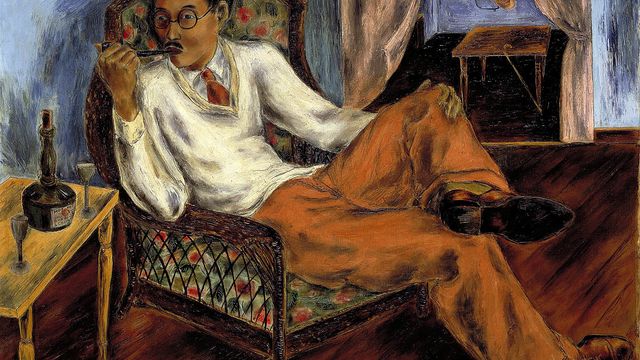
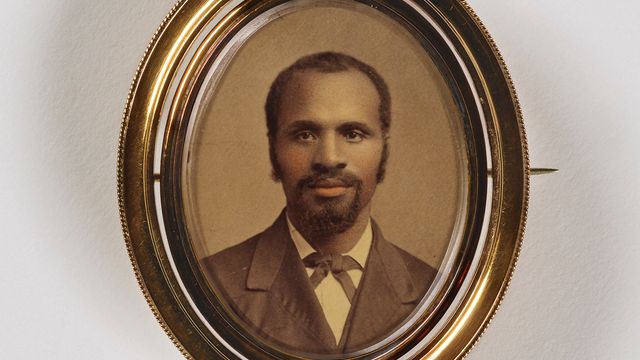
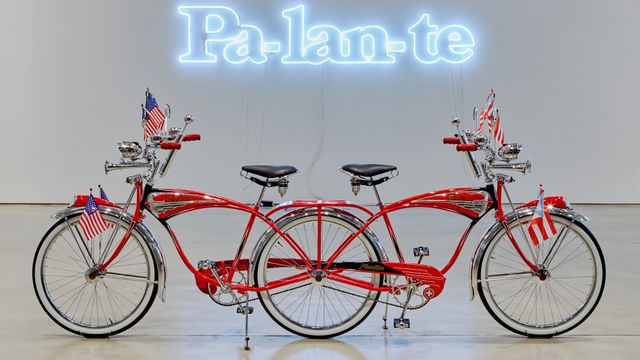
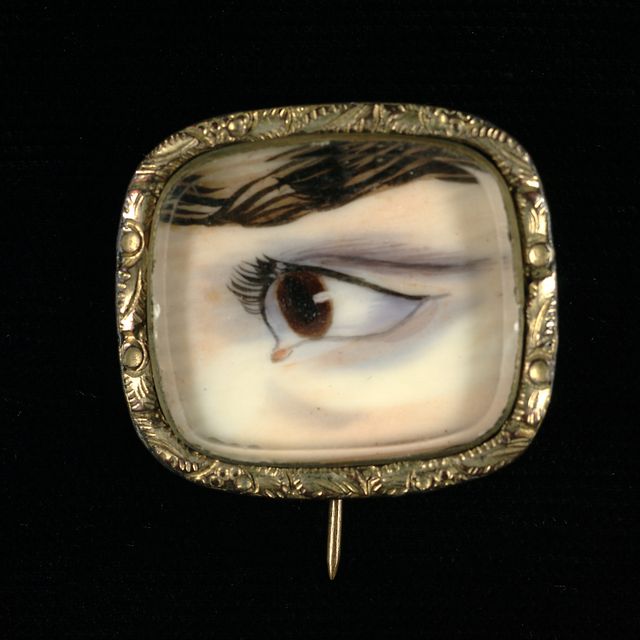
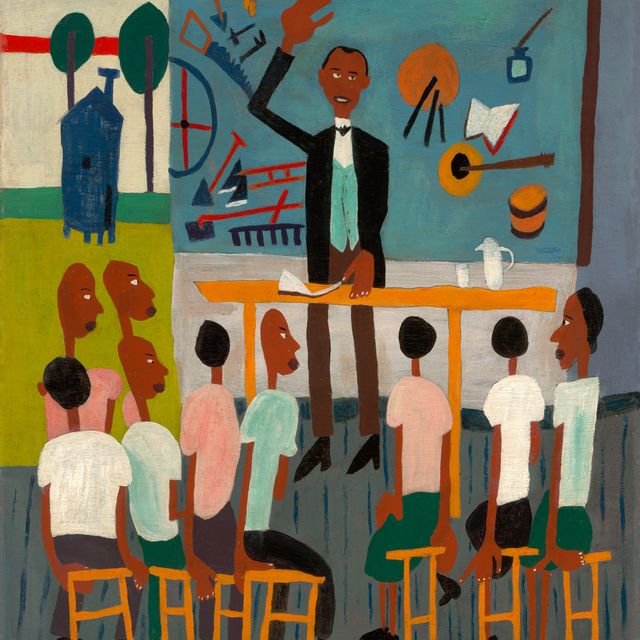
- Print these 20 portraits from the National Portrait Gallery collection.
- Set one portrait aside and hang the remaining 19 portraits around the classroom.
- You may choose to use a digital version of the portrait you put set aside so the portrait can be projected larger on the board in the classroom. Digital versions can be found in the Creating Portraits of Community Learning Lab collection.
- Review the definitions for the elements of portrayal and Reading Portraiture: A Guide for Educators found below:
- Review student photography from Voices of 21217. Student work from this project will be displayed digitally on the board as an example to wrap up the lesson.
- After the lesson, keep the printed portraits for later use in lesson four.
Lesson Structure (45 minutes):
Warm Up
Frame the lesson: When we think of stories, we can’t help but think of people. When we think about events in history, we can’t help but be curious about people’s choices. When we think about identity, one way to frame that conversation is through portraiture. We can look at portraits through three lenses: art, history, and biography.
What is a portrait?
Activities
Frame the activity: Let’s meet the portrait on the board. Take a few minutes to look at the portrait. You can also write down your observations.
We have put up 20 portraits. You won’t see explanations about these people. That’s on purpose. Please spend about five minutes browsing these portraits. Look at each one, then find one that you are drawn to.
What do you notice?
After students share their observations, introduce the elements of portrayal. If helpful, share the elements of portrayal on the board or distribute copies to students.
Which elements of portrayal came up in your observations of the portrait on the board?
Make a new observation about an element of portrayal you hadn’t considered before.
Now that we have some practice looking at a portrait and using the elements of portrayal together, let’s do some close looking individually. There are 19 portraits hanging up around the classroom. You won’t see explanations about these people. That’s on purpose. Please spend about five to ten minutes browsing these portraits. Look at each one, then find one that you are drawn to.
What do you see in the portrait that keeps you looking?
Build a shared vocabulary:
Let’s apply our new vocabulary to our chosen portraits.
Can you use an element of portrayal while you are discussing the portrait?
Share your ideas on the portrait that you chose with a classmate who chose a different portrait.
Wrap Up and Assessment
Building a toolkit to collect community portraits:
The elements of portrayal help us to think about what goes into a portrait and how an artist decides to depict a sitter, or the person in the portrait. The elements of portrayal will go into your toolkit for when you are taking photographs of your chosen person or topic.
Display photographs from Voices of 21217 on the board. These are examples of photographs taken by students that live in Baltimore, Maryland. They participated in a project like Creating Portraits of Community called Recording a Changing Nation.
Explain the different elements of portrayal you see in their work.
What questions would you like to ask the students who took these photographs?
Do you think it is valuable to use this new vocabulary to analyze portraiture? Why or why not?